After going to three stores to find basil, I struck out and opted for fresh oregano, but I would definitely use basil, if possible.
You will need cheese cloth and kitchen string to make the sausages.
Makes 5 sausages. Pasta serves two as a main course (uses two of the sausages).
Sausage Ingredients:
1/2 cup ready-to-eat sundried tomatoes
3/4 cup toasted cashews
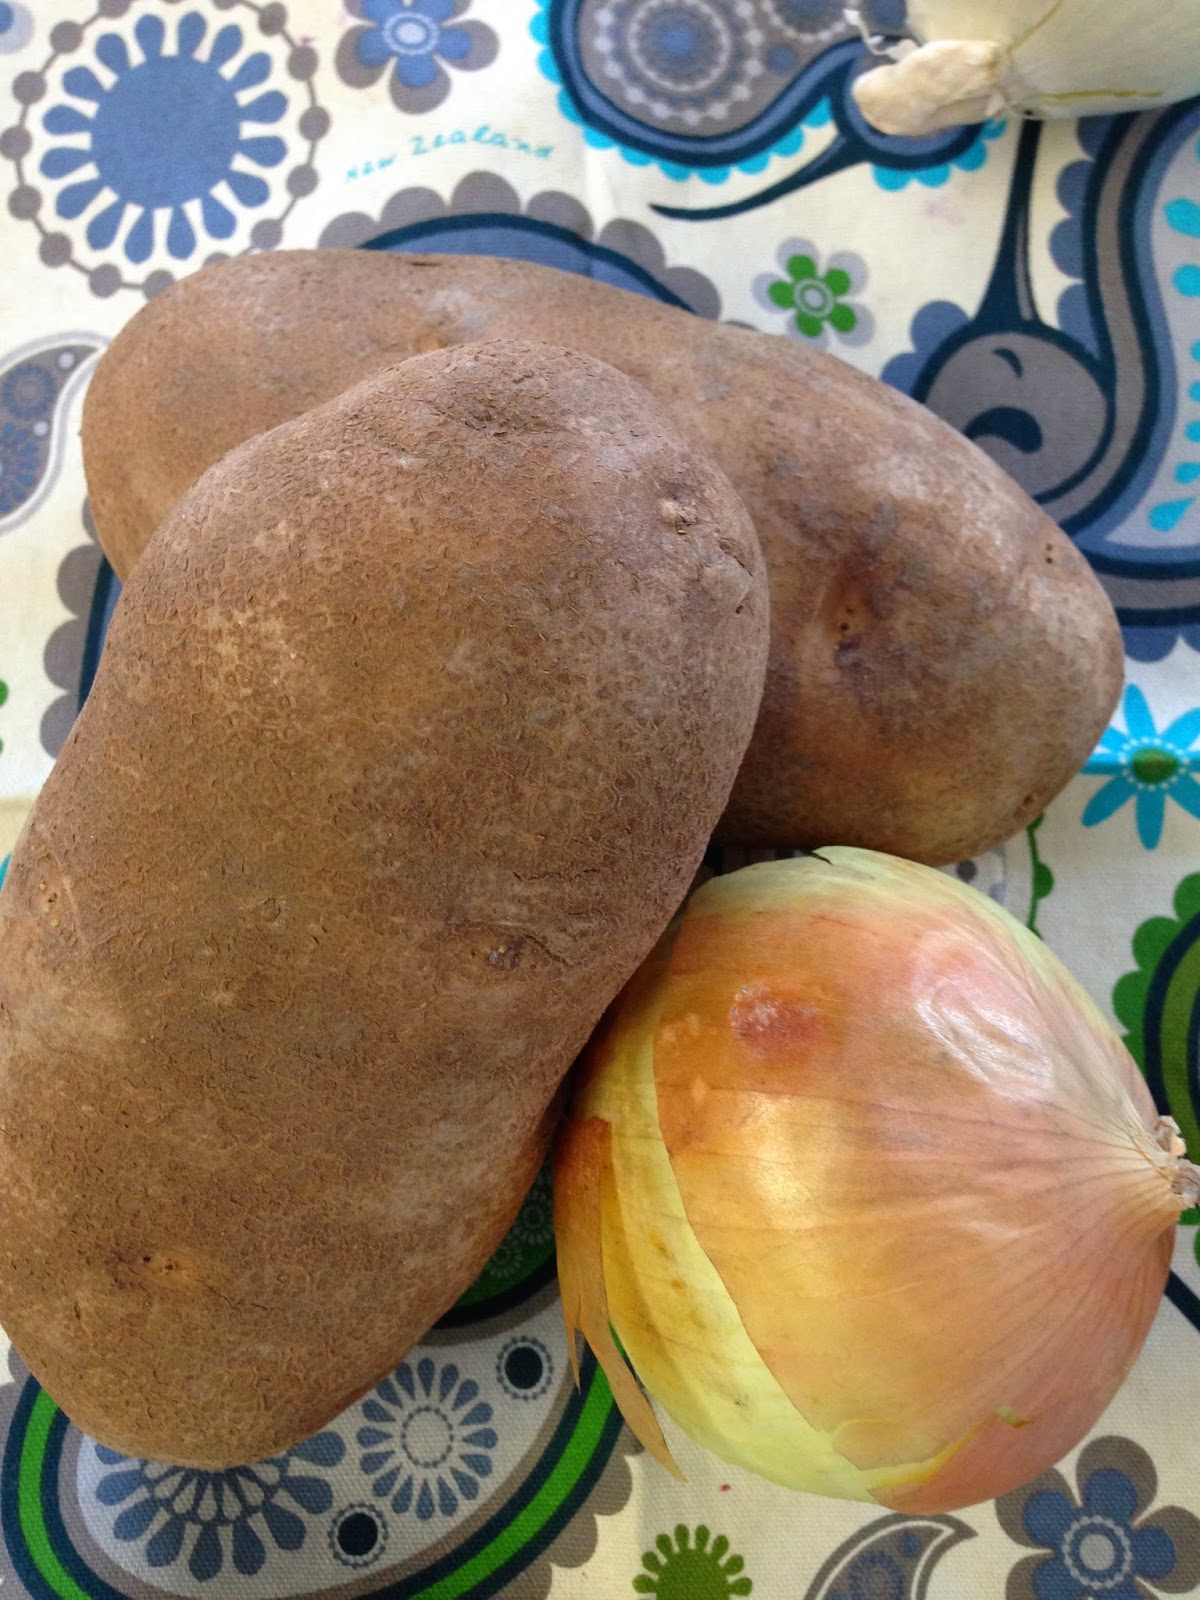
1/2 sweet onion, chopped
1/2 small red chili, seeded and chopped
6 unsulphured dried apricots
1/2 tsp cumin
1 Tbsp shiro miso (optional)
1 tsp salt
1 tsp paprika
1-2 garlic cloves
1 tsp oregano
1 cup brown rice flour
1 Tbsp xanthan gum
1 Tbsp ground flax seeds or ground chia seeds
1/4 cup extra virgin olive oil
1/4 cup water
4 1//2 cups vegetable stock
1 Tbsp olive oil, for frying
Directions:
1. In a food processor, pulse together the first 11 ingredients.
2. Add the next three ingredients and pulse until completely combined.
3. Add the olive oil and the water and pulse until mixture forms a dough ball.
4. Separate into five equal portions and roll into sausage shapes. Wrap in cheese cloth and tie each end with kitchen string.

6. Remove the cheese cloth by cutting off the ends. Then, fry the sausages in olive oil until they are brown on all sides, about 10 minutes.
7. If you are making the pasta, do so while the sausages are frying. If you have leftovers, cool and freeze them.

2 Tbsp extra virgin olive oil
1/4 tsp red pepper flakes
1/2 sweet onion, chopped
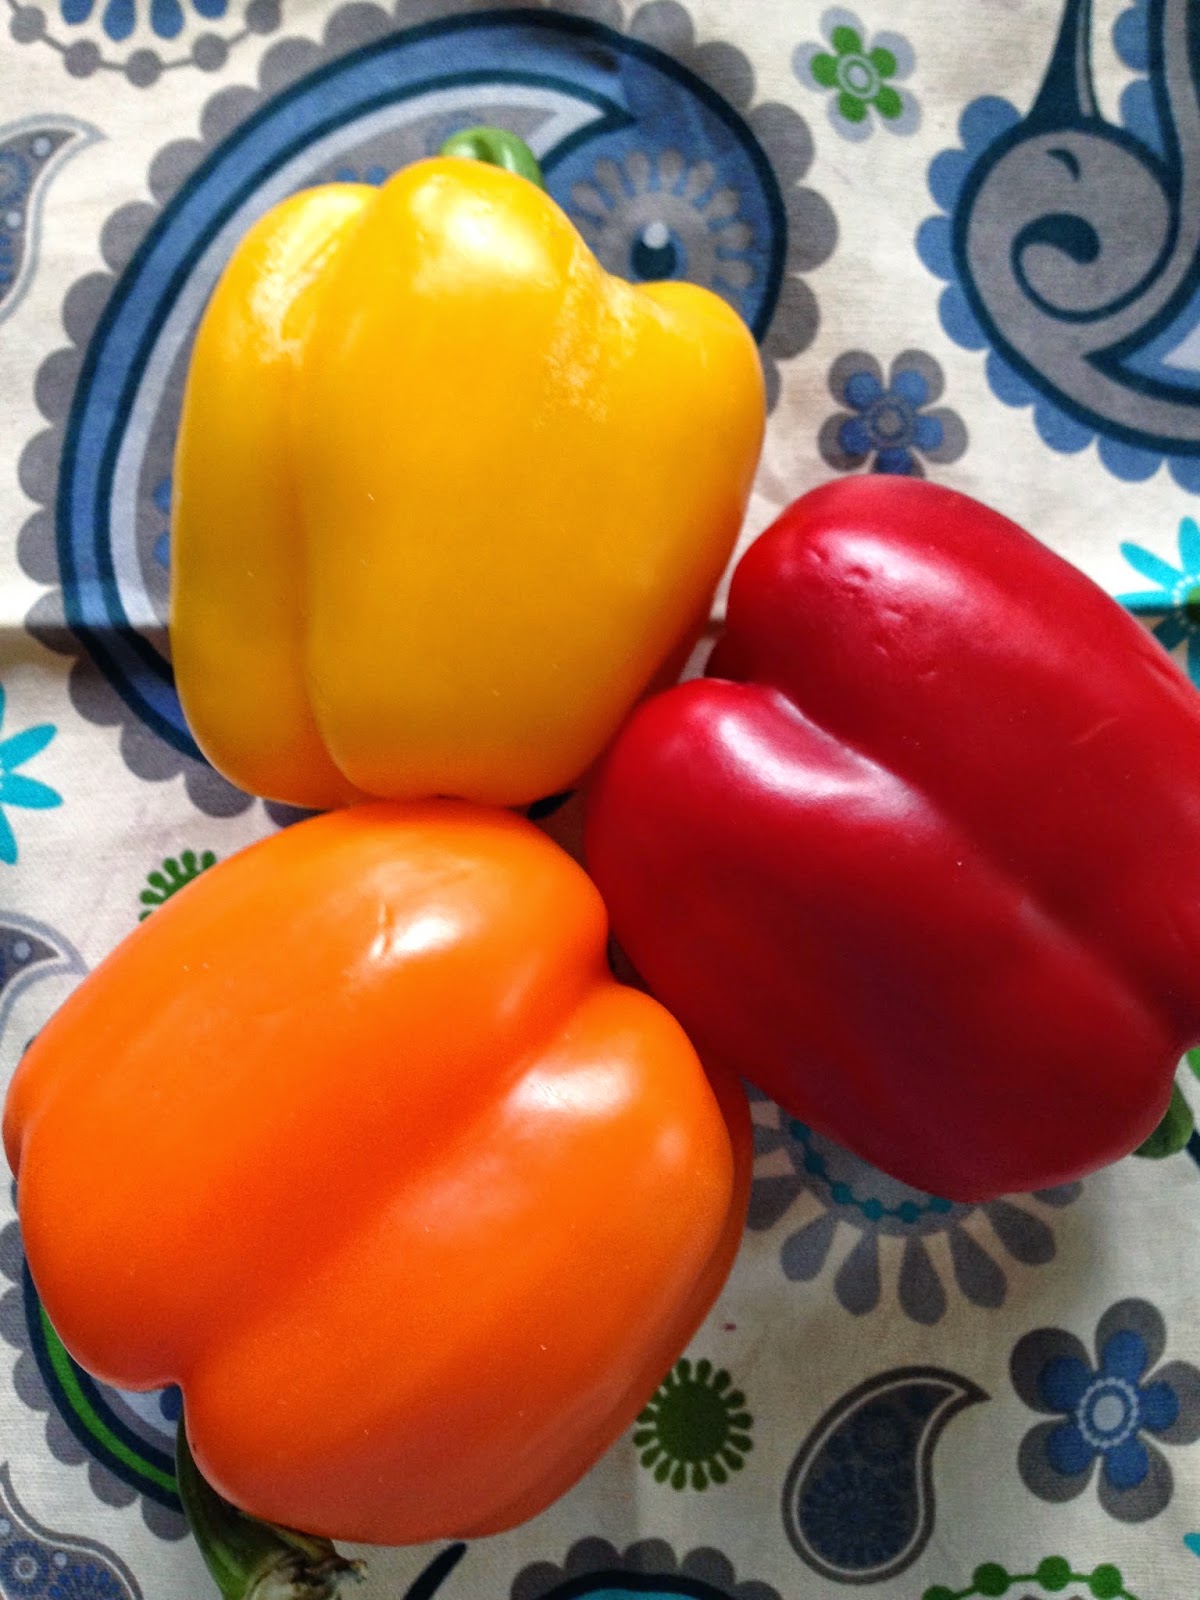
1 red bell pepper, chopped
1 orange bell pepper, chopped
1 yellow bell pepper, chopped
2 cloves garlic
8 cocktail tomatoes
2 Tbsp fresh basil, chopped or torn
salt, pepper
fresh parmesan (optional)
1/2 lb short pasta
Directions:
1. Boil a large pot of salted water for the pasta. Start the rest of the recipe while the water comes to a boil. When the water is boiling, add the pasta and cook according to package directions.
2. In a large frying pan, heat the oil and red pepper flakes.
3. Add the onion, peppers and a bit of salt to the oil and sauté until the peppers are just tender.

4. When there is about 3 minutes left in the cooking time of the pasta, add the garlic and tomatoes.
5. Add the cooked pasta to the peppers and toss to coat. Add black pepper as desired. Add slices sausage. Serve topped with basil and parmesan (optional). Enjoy!

** If you would like a saucier pasta, you can use a 28 oz can of diced tomatoes instead of the fresh tomatoes.
1. Rice flour and xanthan gum (pronounced zanthan) can be purchased at an organic or health food store.
2. So can unsulphured dried apricots. If you can't find them, though, just use regular ones.
3. When they are in season, you can find many different colours of peppers at the Farmers Market or Italian Store. Try different combinations.