Monday, August 25, 2014

Baked Eggplant Parmesan


One of my favourite vegetarian meals is eggplant parmesan, but many recipes require you to fry the eggplant before baking it, which adds a lot of extra calories as well as a lot of extra time.  This method of breading and then baking it solves both of those problems.  I have also reduced the amount of cheese and made it into cute individual stacks instead of a huge casserole, which requires more eggplant.  Because there are big, juicy tomatoes in season right now, you could try using a slice of tomato instead of the tomato sauce.

Serves 5

Ingredients:

1 large eggplant
2 eggs
2 cups spelt bread crumbs (or whole wheat bread crumbs)
salt
1 Tbsp Italian seasoning
1 jar marinara sauce
5 slices of fresh mozzarella or bocconcini
10 small basil leaves
1/2 cup parmesan cheese
pepper

Directions:

1. Slice eggplant into 10 rounds.  Salt liberally and place in colander for 30 - 60 minutes to drain.

2. Rinse eggplant thoroughly with water and pat each round dry on kitchen towel.

3. Preheat the oven to 375 degrees Fahrenheit.

4. In one dish, beat eggs with a pinch of salt.  In another dish, mix bread crumbs with Italian seasoning and 1/2 tsp salt.

5. Bread eggplant by using one hand to coat both sides in egg and the other hand to coat liberally with bread crumbs.  Place coated eggplant on a parchment-lined baking tray.  Bake in oven for 10 minutes on each side.


6. In a baking dish, place 2 Tbsp of marinara sauce in five dollops in the baking dish (5 Tbsp total).


7. Place a large eggplant round on each dollop of marinara sauce.  Top each round with another 2 Tbsp of sauce. Place a basil leaf on each round, then place a mozzarella slice on each round.


8. Top each stack with another eggplant round, another large dollop of sauce, and another basil leaf.  Season with pepper.  Divide the parmesan between the five stacks.


9. Bake in the oven for 30 - 40 minutes or until eggplant can be easily pierced with a sharp knife.  You may want to broil it for a couple of minutes at the end to brown the cheese on top. Enjoy!


Monday, August 18, 2014

Mexican Inspired Grilled Corn


While I was in Los Angeles last week, I had the wonderful opportunity to eat at Chef Curtis Stone's new restaurant, Maude, which has been rated best restaurant in L.A.  Normally the 25 seat restaurant fills up as soon as reservations open one month ahead of time, but when we got the call at 10 a.m. that a reservation for four had cancelled at the last minute for that night, we jumped at the chance.

The Maude kitchen

Each month, one seasonal ingredient is featured in a nine course tasting menu.  You don't order anything - it is a set menu that comes to you when it is ready.  The entire dinner featuring corn took 3 hours to eat and ended up being more like 11 courses excluding the homemade corn flakes and almond milk that we were given to enjoy the next morning.


One of our favourite dishes was inspired by the grilled Mexican corn dish called elotes.  Apparently the street version of this dish is sold outside many local Mexican grocery stores, but what we had was grilled corn elevated to a whole new level.  The recipe below is my version of the elotes we ate at Maude, with a few more local Canadian ingredients.

The elotes at Maude 


Serves 4 - 6.

Ingredients:

1/2 cup plain yogurt
1-2 cloves garlic, crushed
4 ears corn, husk removed
1 Tbsp extra virgin olive oil
1 Tbsp butter
Squeeze lime juice (about 1 Tbsp)
2 Tbsp fresh basil, chopped
1/2 fresh jalapeño, deseeded and finely minced
1/4 cup dry, crumbled feta cheese
pea shoots (optional)
salt

Directions:

1. Mix the yogurt and garlic together and set aside.

2. Brush or rub the corn cobs with the olive oil and grill them on a medium high barbecue for about 12 - 15 minutes, turning regularly.  You want the corn to get brown char marks on it, though.  Remove from heat, let cool slightly, and then use a knife to remove the corn from the cobs.


3. In a pan on the stove, heat the butter until it starts to turn brown.  Squeeze in the lime juice and turn down the heat so that it does not burn.  Quickly toss the jalapeño and corn kernels in the butter to reheat them and remove the pan from the heat.  Season with salt.

4. Serve the corn on a plate topped with the basil, feta, and pea shoots, if using.  Serve the garlic yogurt on the side of the plate.  Enjoy!


Shopping Tips:

1. Feta is more commonly sold packed in water, but it should also be available in dry form, which is much more desirable in this dish since it is being used as a substitute for Mexican cojita, which is hard to find in Canada.

Monday, August 11, 2014

Summer Frittata


This year I didn't plant a garden because I was expecting to have moved by this time (which hasn't happened yet), but for those of you who have, you must be just about ready to harvest your zucchini and tomatoes.  Last year at this time, I posted the summer pasta, this year I am giving you another option for those fresh veggies.  Frittatas are great weeknight meals because they are fast to prepare and can be made with a variety of veggies and cheese.  

Have you ever wondered what the difference is between a quiche, a frittata, and a strata?  The biggest difference is the starch they are made with.  Quiches are made with a pastry crust, frittatas are made with potatoes (although I have also seen them with pasta or rice), and strata are made with bread chunks.  Frittatas are great for using up the last bits of vegetables in the fridge as well as for using leftover rice, pasta, or boiled or roasted potatoes.

To deseed the tomatoes, just cut them into quarters and use your thumb to push out the seeds.

Serves 6.

Ingredients:

1 Tbsp extra virgin olive oil
1/2 small red onion (or one leek)
2 cloves garlic
1 zucchini, cut into quarter moons
8 asparagus spears, cut into 1/2 inch chunks
1/2 pound cooked potatoes
4 tomatoes, deseeded and chopped
2 - 4 Tbsp fresh basil
9 eggs
1 cup milk
2 tsp dijon mustard
1 cup shredded swiss cheese, grated

Directions:

1. Preheat the oven to 425 degrees Fahrenheit.

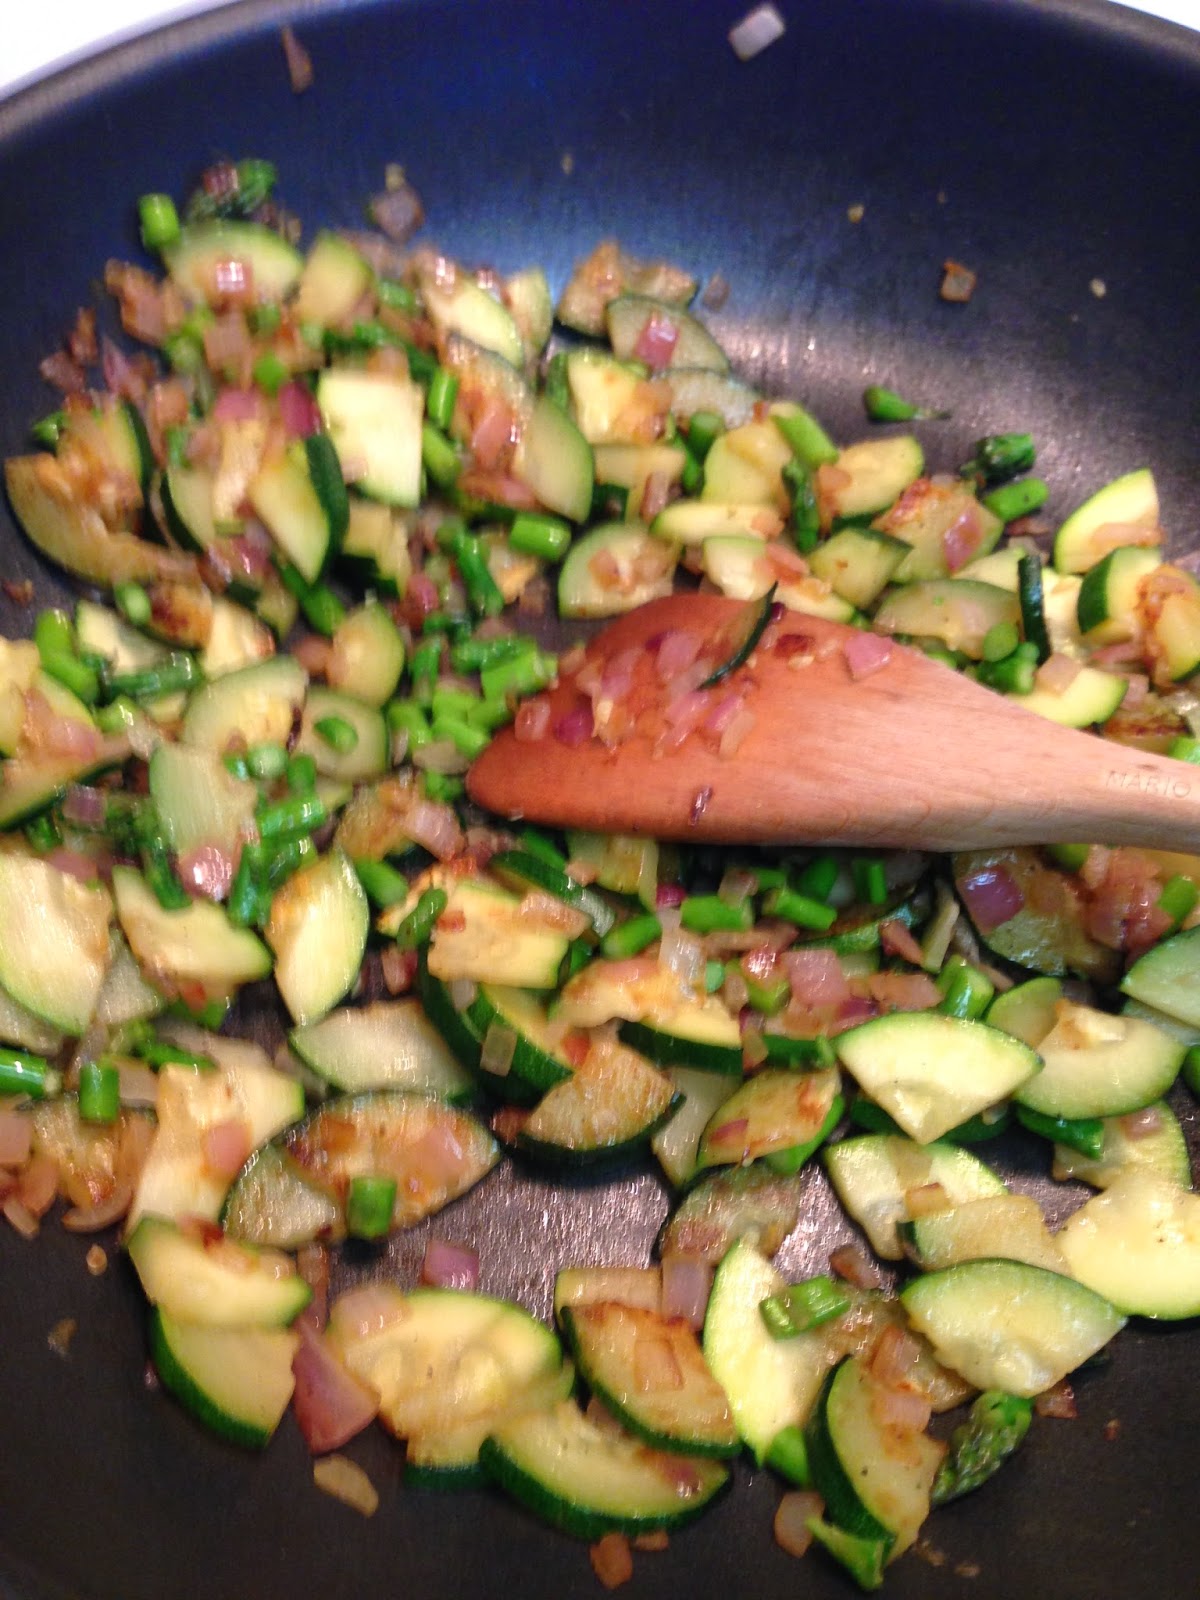
2. Sauté the onions, garlic, zucchini and asparagus until they are tender, about ten minutes.


3. Add the cooked chopped potatoes, tomatoes, and basil.


4. In a bowl, beat the eggs, milk, mustard, salt, and pepper and immediately add to the pan.  Allow the mixture to heat and set for about 3 minutes.


5. Top with the cheese and bake in the oven until set, about 10 minutes. It will still be jiggly when it is done, but when you cut it, the eggs will not run into the cut line.  If you would like it to be crispy on top, broil it for about 2 minutes at then end of the cooking time.


6. Let sit for at least 5 minutes before serving.  This is also great at room temperature or even cold out of the fridge.  You can eat leftovers on top of toast for an open-faced fried egg sandwich-type thing.


7. Enjoy!

Monday, August 4, 2014

Summer Salad Rolls


After two weeks of sweltering heat, the last thing I feel like doing is turning on the stove or oven.  In fact, doing so seems almost criminal at this point.  Luckily, this recipe does not require cooking at all.  I'll be honest, the first time I ever made these, they did not turn out.  They were soggy and wet and tasted like water.  Fortunately, I've worked out all the kinks so that your salad rolls will work out perfectly!  These really are a nice light but filling summer treat.

Makes about 12 rolls.

Ingredients:

12 round rice paper wrappers
75 grams vermicelli rice noodles
1 English cucumber, seeded and julienned
1 carrot, julienned
18 medium sized cooked shrimp
fresh cilantro and/or mint
greens (lettuce or spinach)
chopped peanuts

Sauce:
2 Tbsp natural nut butter of your choice
1 Tbsp rice wine vinegar
1 Tbsp lime juice
1 garlic clove
1/4 tsp red pepper flakes or hot sauce
1 Tbsp water
salt

Directions:

1. Break the rice noodles in half and place them in a large bowl.  Boil a kettle of water and pour the water on top of the noodles.  Let them soak for about 3 minutes.  Drain and rinse under cold water.  Set aside.


2. Cut the shrimp in half along their backs so that it looks like there are two.


3. Fill a pie plate with more boiling water from the kettle.  Place a rice wrapper in the water for 3 - 5 seconds.  It will still be hard when you take it out, that is okay.  It will continue to soften.  Place the wrapper on a plate.  It is now ready to be filled.  If you find it sticking to the plate, just put a small amount of water on the plate before you put the wrapper on it.


4. At the bottom of the wrapper, place three shrimp halves.  Top with some greens, then the herbs, then the carrot and cucumber, then the vermicelli noodles, and then the chopped peanuts.


5. Roll the two sides over the mixture and then roll it up from the bottom to the top.  When you are finished rolling, the shrimp should be showing through the bottom.


6. Whisk all the dipping sauce ingredients together and place in a serving dish.

 7. Enjoy!

Shopping Tips:

1. Vermicelli rice noodles and rice wrappers can be found in the Asian aisle of most major grocery stores.  The wrappers are dry, they are not the same as wonton wrappers.

2. Cooked shrimp are the pink ones, not the grey ones.
UA-45633129-1