Showing posts with label appetizer. Show all posts

Monday, May 5, 2014

Perogy Bites


Every August, I go to the Heritage Festival in Edmonton where there are more than one hundred tents representing cuisines from all over the world.  I am ashamed to admit it, but each year I make a bee-line for the Ukrainian tent so that I can eat pierogies.  Why would I go to such a wonderful event and focus on pierogies, which I can get any day of the year?  Because I feel guilty eating them normally.  Full of white flour, cheese, butter, and potato, they are not exactly the healthiest dumplings on the planet.  I have been searching for a way to make them a bit healthier, and I've finally done it.  The greatest thing about these perogy bites is that they can be an appetizer or a meal, and if you leave off the bacon (or substitute it with coconut bacon), they are even vegan!  But don't worry, they taste just like pierogies - maybe even better - they are a cross between perogies, a baked potato, and chips.  To make this easier, make the cheesy cream a day ahead.

Makes 20 - 24 pierogie bites.

Ingredients:

Cheesy Cream:
1 cup plain, raw cashews (soak in water overnight, or at least 4 hours)
1/4 cup water
1/4 cup nutritional yeast
1 tsp white wine vinegar (or apple cider vinegar)
2 tsp fresh lemon juice
1/2 tsp salt
1/8 tsp onion powder
pinch cayenne pepper

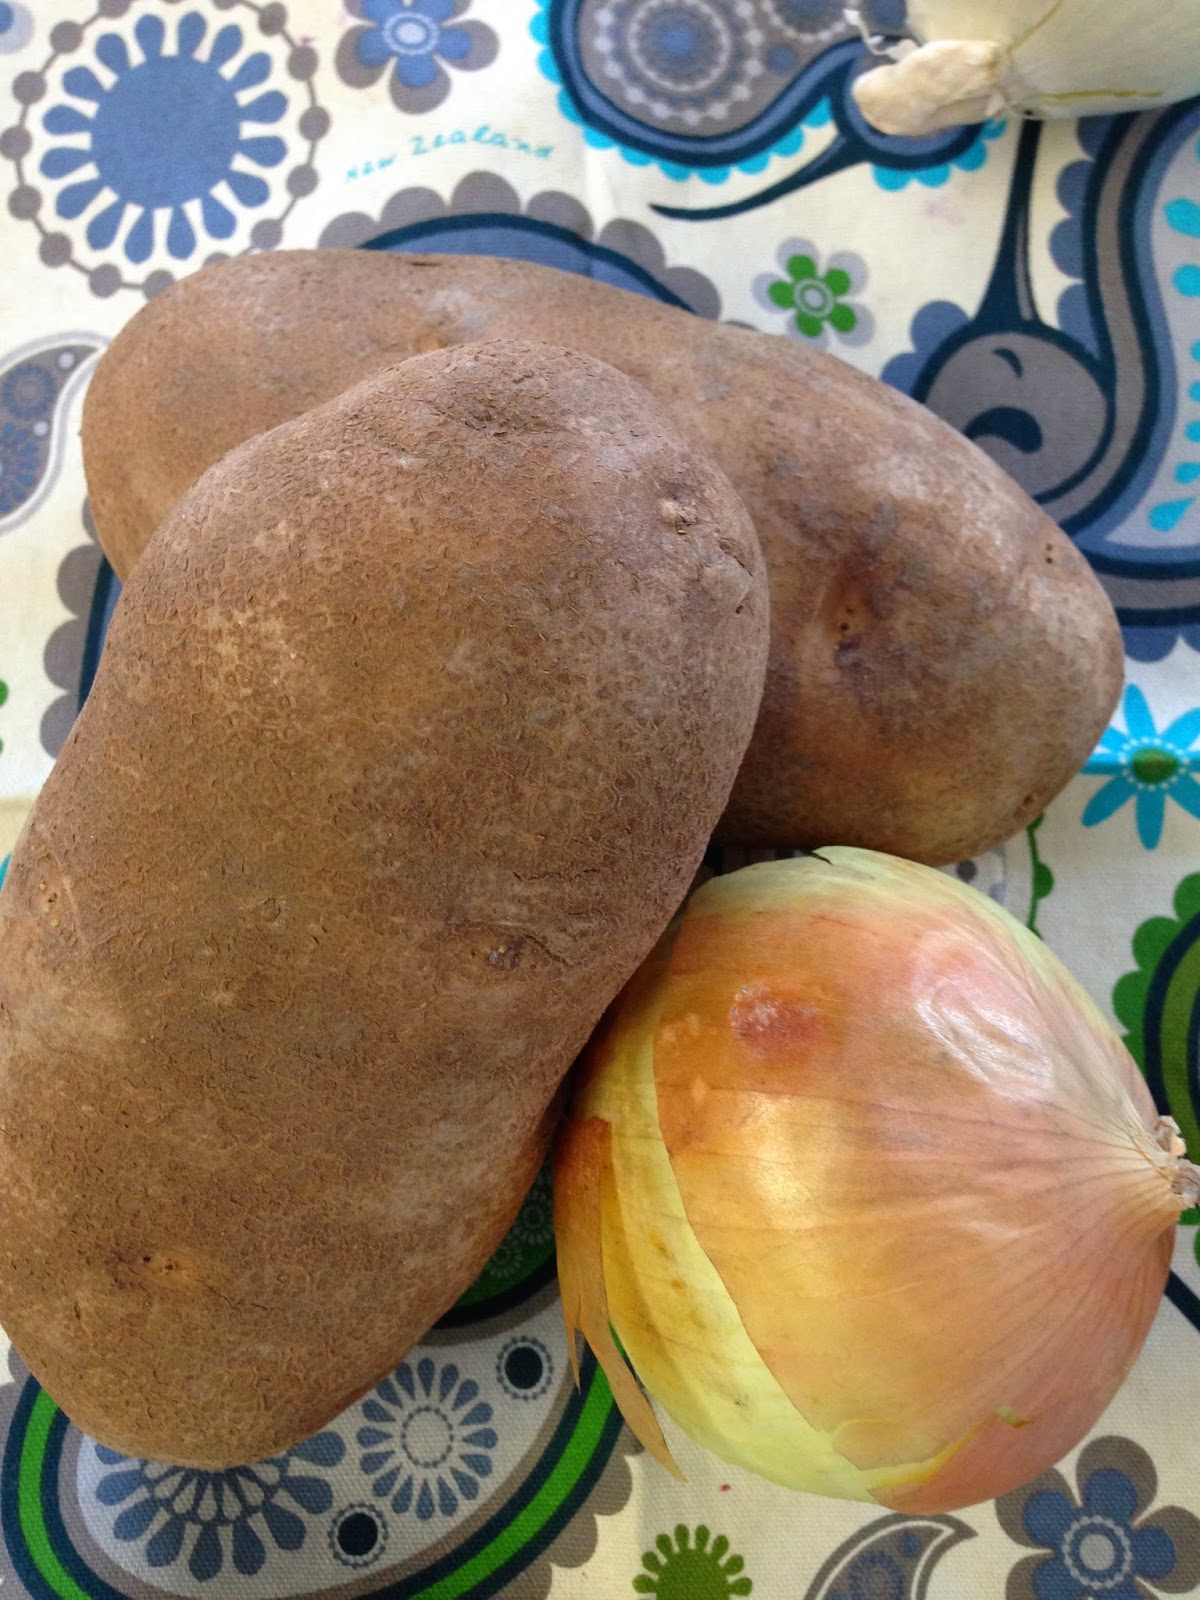
1 long, skinny russet potato
2 Tbsp extra virgin olive oil, divided
2 large onions
2 green onions
1 rasher of bacon (optional)

Directions:

1. To make the Cheesy Cream, drain and rinse the cashews and then combine them with the water, nutritional yeast, vinegar, lemon juice, salt, onion powder, and cayenne pepper in a blender or bullet.  Blend until a smooth paste results, about 3 - 5 minutes.  Refrigerate until cool.


2. Preheat the oven to 425 degrees Fahrenheit.  Slice the unpeeled potatoes into 1/4 inch rounds.  brush them with 1 Tbsp of the olive oil, sprinkle with salt, and then bake on a parchment-lined baking sheet for 30 - 35 minutes, turning over halfway through.


3. Slice the onions into half-moon slices and sauté in the remaining 1 Tbsp olive oil on medium heat until they are caramelized and golden brown, about 30 minutes.


4. Slice the green onions into very thin slices, including the green bits.  If you are using the bacon, slice it into bits, and fry in a small dry pan until it is crisp.  Remove the bacon from the pan using a slotted spoon and drain on paper towel.  Set aside.

5. When the potatoes and onions are ready, assemble the bites.  On top of each potato round, smother about 1 tsp Cheesy Cream, add some caramelized onions, green onion, and bacon pieces, if using.  Enjoy!


Shopping Tips:

1. Russet potatoes are also called baking potatoes.  They are the ones with the scabby skin that look dirty, even when they are not.

2. Nutritional yeast is not yeast, but is a by-product of molasses.  It is an important source of vitamin B12, and it looks like yellow flakes.  See this recipe for a picture.  It smells like the cheese package in KD.  It can usually be found in the organic section of the grocery store, usually in the bulk bin.  Try sprinkling it on your popcorn for a cheesy alternative...

That's it.  Don't be scared by the planning required to make this recipe.  It comes together really easily.  If you can make perogies, you can make this recipe!


Monday, March 24, 2014

Curry Roasted Cauliflower


My childhood memories of cauliflower are one of two things: raw florets dredged in dill dip from
a Tupperware veggie tray, or steamed with cheese sauce on top.  To some, these are fond memories, and to others, the reason for a hatred of the vegetable.  I happen to really like cauliflower, but then again, I also like brussels sprouts, cabbage, and rutabaga.

If you haven't tried roasted cauliflower yet, today is the day.  Roasting it at a high heat caramelizes the edges and changes the flavour profile completely.  This recipe goes one step further and adds curry powder for even greater complexity.

You can use either dill or cilantro.  I was intending to use cilantro, but my local grocery store tends to always be out of the one herb I am looking for.  If I want basil, they don't have it, but if I don't need it, they do have it.  Same goes for dill and thyme.  However, they seem to always have parsley and cilantro, so I thought I'd be safe.  Today, though, they did not have cilantro, but instead had bunches and bunches of fenugreek - an unusual herb used in Indian cooking.  I can only assume that someone made a pretty big mistake in the ordering....

Anyway, this can be made as a side or an appetizer.

Ingredients:

1 cup of plain yogurt
1/2 - 1 tsp garlic, crushed
1 tsp dijon mustard
2 Tbsp fresh dill, chopped
1 tsp capers, drained and finely chopped
salt, pepper

1 head of cauliflower, sliced
2 Tbsp extra virgin olive oil
1 tsp curry powder
salt, pepper

Directions:

1. Combine the yogurt, garlic, dijon, dill, caper, salt, and pepper and refrigerate for at least two hours to allow flavours to come together.

2. Preheat the oven to 450 degrees Fahrenheit.

3. Mix the oil and curry powder together.  Set aside.  Slice the cauliflower into discs and drizzle with the curry oil.  Mix well.


4. Place the cauliflower on a baking sheet and sprinkle with salt and pepper.

5. Bake the cauliflower for 15 minutes, turn, and bake for another 10 minutes.


6. Serve immediately with the yogurt dip on the side.


Shopping Tips:

1. Capers are the marinated buds of a Mediterranean flower although they taste nothing like it.  They are a great acidic addition to many dishes and are regularly found in tartar sauce.  They can be found in small jars in the pickle section of any grocery store.

Monday, March 17, 2014

Green Pea Crostini


One of my favourite restaurants in Edmonton, Corso 32, used to have a fava bean crostini on their menu that was to die for.  It's the kind of thing that would keep you going back even if that were the only thing on the menu, which, luckily, it isn't.  This is my take on that recipe since fava beans are not always the easiest things to find.  It may not be the time of year for fresh peas from the garden, but the sun is out, and it is almost time to start putting those pea seeds in the ground, so I thought that was good enough.  This recipe is almost as good with thawed frozen peas, so why not?

If you have a day-old baguette, slice it into thin rounds, brush with extra-virgin olive oil, and bake at 350 degrees Fahrenheit until brown and crispy.  When they come out of the oven, rub a piece of raw garlic over the toast. If you don't have a baguette, just use crostini from the store.

Ingredients:

12 garlic crostini

1 cup frozen peas, thawed
2 - 3 Tbsp good quality extra-virgin olive oil
2 Tbsp freshly grated parmesan cheese (plus extra for garnish)
4 basil leaves
1 Tbsp freshly squeezed lemon juice
2 Tbsp pine nuts
salt, pepper

Directions:

1. Toast the pine nuts in a dry pan on the stove or on a baking sheet in the oven for a couple of minutes, being very careful not to burn them (I always do!).

2. In a food processor, combine the peas, olive oil, parmesan, basil, and lemon juice until smooth.

3. Season the pea puree with salt and pepper to taste.

4. On top of each crostini, put a spoonful of pea puree, a few pine nuts, and some grated parmesan cheese.  Enjoy!


Shopping Tips:

1. The best, but most expensive, kind of parmesan cheese is parmegiano reggiano.  Do NOT use the parmesan that comes in the green can from the pasta aisle.  I'm not sure what that stuff is, but it is not cheese.

2. I use sweetlet or summer sweet peas for this recipe.  They are smaller and sweeter and have a more tender texture that the large green peas.

3. Pine nuts are expensive and go rancid quickly, so I keep them in the fridge.

The pea puree will keep in the fridge for several days, so it is really easy to make ahead of time - just don't put it on the toast until the last minute!
UA-45633129-1